Best technique for fishing a rocky point
Fishing a rocky point in Hawaii can be incredibly rewarding, offering access to deeper water and prime feeding grounds for some amazing fish, but it also comes with its fair share of frustrations – namely, constant snags and the risk of losing precious gear. If you've ever felt the heartbreaking snap of a line against a jagged lava rock or struggled with casting in tricky conditions, you know exactly what I mean. This guide is here to walk you through the most effective techniques for tackling these challenging yet productive spots, helping you keep your tackle and land more fish.
Understanding the Unique Challenges of Rocky Points
Rocky points aren't just pretty scenery; they're dynamic environments that demand a specific approach from anglers. The very features that attract fish – structure, currents, and food sources – are often what make them so tough to fish.
The Snagging Scourge: Why Your Line Breaks
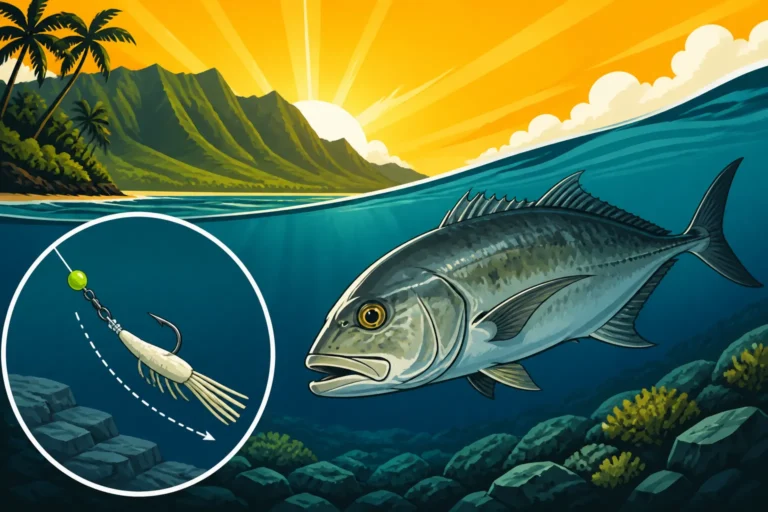
Let's face it, the number one headache when fishing rocky points is the dreaded snag. Lava rock, coral heads, and submerged boulders are magnets for fishing line, hooks, and sinkers. These underwater obstacles create perfect ambush points for predators like ulua and papio, but they also lie in wait for your rig. You might feel a gentle tap, think it's a bite, and then snap – your line is hopelessly wedged, or worse, cut clean. This isn't just annoying; it costs money and cuts into your precious fishing time. Understanding why snags happen is the first step to preventing them. It's often about where your bait or lure lands, how quickly it sinks, and how you retrieve it through the complex underwater landscape.
Reading the Water: Currents and Structure
Rocky points are dynamic spots where ocean currents often meet, creating turbulent water and eddies. These currents, while challenging to fish in, are a primary reason fish congregate here. The rushing water dislodges crabs, small fish, and other organisms, washing them directly into the waiting mouths of larger predators. Beyond the currents, the physical structure of the rocks themselves – ledges, crevices, drop-offs, and caves – provides shelter, hunting grounds, and spawning areas. Being able to read the subtle signs of the water, like rip currents, areas of calmer water directly behind a point, or where the waves break, can tell you where the fish are likely holding. Ignoring these signs is like fishing blindfolded; you might get lucky, but consistent success comes from understanding the environment.
Targeting the Right Species
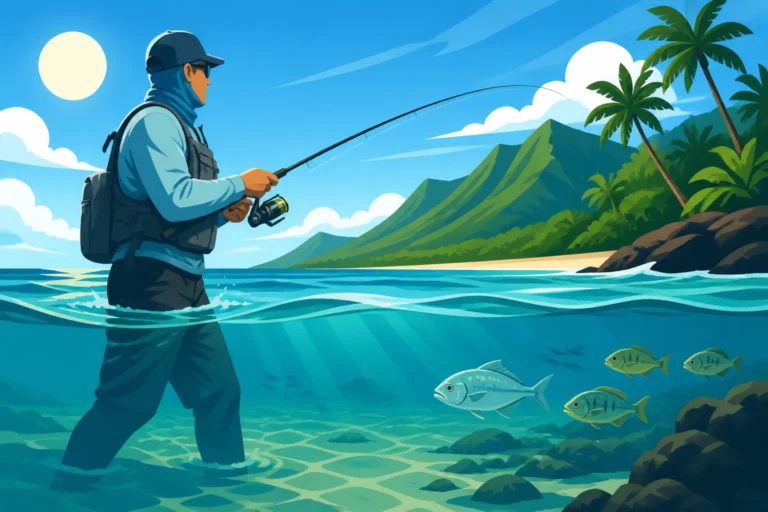
Not all fish hang out at rocky points, or at least, not every species is caught with the same technique here. When you’re fishing a rocky point in Hawaii, you’re often targeting species like ulua (giant trevally), papio (juvenile trevally), moi (Pacific threadfin), kumu (goatfish), and even sometimes small reef fish. These species are well-adapted to the rough and tumble nature of these areas. Larger pelagic fish like mahimahi or ono might cruise by the deeper water adjacent to the point, but for the most part, you’re looking for those strong, hard-fighting reef and shore dwellers. Knowing what you're likely to encounter helps you select the appropriate gear and technique, preventing frustration when your light tackle isn't up to the task of hauling in a bull ulua. For more on what you might encounter, check out our guide on Ulua vs Papio: What's the Difference or Kumu (Goatfish) in Hawaii.
Essential Gear for Rocky Point Angling
Having the right tools for the job can make all the difference between a frustrating day of lost tackle and a triumphant one filled with bent rods and screaming drags. Rocky point fishing demands robust and specialized gear that can withstand the harsh environment.
Rods, Reels, and Line: Building a Resilient Setup
For rocky point fishing, you need gear that can take a beating and still perform. Forget your flimsy freshwater trout rod; this is where heavy-duty equipment shines.
- Rods: Look for stout, powerful rods in the 9-12 foot range for shore casting. They need to have enough backbone to cast heavy baits or lures long distances and to turn a strong fish away from structure. A medium-heavy to heavy action is usually appropriate. Brands like Daiwa or Shimano offer great options, but even a sturdy fiberglass pole can get the job done if it has enough power.
- Reels: Pair your rod with a durable spinning reel (size 8000-14000) or a conventional reel, especially if you plan on sliding baits for large ulua. These reels need excellent drag systems that can be smoothly applied to put pressure on a fish without snapping the line. Saltwater-rated reels are a must, as the corrosive ocean environment will quickly destroy standard freshwater gear.
- Line: This is perhaps the most critical component for rocky point fishing. Monofilament line in the 30-50 lb test range offers good abrasion resistance and stretch, which can be forgiving when a fish surges against a rock. However, many experienced anglers prefer braided line (50-80 lb test) for its incredible strength, lack of stretch for better bite detection, and smaller diameter which allows for longer casts. If using braid, a long, heavy fluorocarbon leader (60-100 lb test) is absolutely essential. This leader provides the necessary abrasion resistance against sharp rocks and is virtually invisible underwater, increasing your chances of a bite. You can find excellent braided lines and fluorocarbon leaders on Amazon. Don't skimp on line quality; it's your only connection to the fish. Our guide on Best Line for Surfcasting from a Rocky Shore dives deeper into this topic.
Lures and Baits: What Works Best
Choosing the right lure or bait is crucial for success at rocky points. The goal is often to imitate the natural prey found in these areas or to present a tempting meal that can be easily retrieved without snagging.
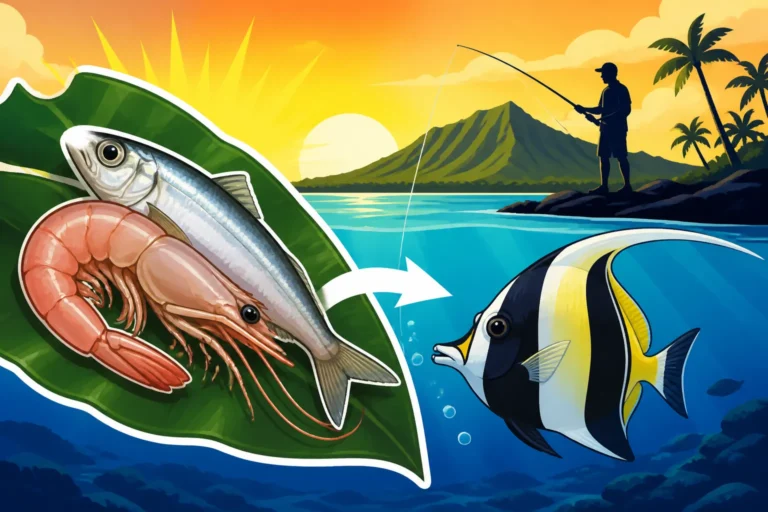
- Live Bait: Live bait is often king, especially for larger predators. Small papio, opelu, or akule, caught fresh, can be devastatingly effective when presented near structure. Live crabs are also a fantastic choice, particularly for ulua and moi. You can either free-line them or use a sliding sinker rig to get them down.
- Cut Bait: Chunks of fresh fish (like mackerel or squid) are excellent all-around options. They release a strong scent trail that can attract fish from a distance. Rig them on a single, stout circle hook.
- Artificial Lures:
- Poppers and Stickbaits: These topwater lures are exhilarating when a fish explodes on them. They are great for covering water and mimicking injured baitfish. Work them over shallower rocky areas where snags are less likely.
- Jerkbaits and Swimbaits: Subsurface lures that imitate baitfish can be very effective. Choose models with a diving lip that allows them to run just above the snags or those designed for a faster retrieve. Consider durable options from brands like Rapala or Yo-Zuri, often available on Amazon.
- Heavy Spoons/Jigs: For reaching deeper pockets or when fishing in strong currents, heavy spoons or jigs can be cast and retrieved quickly. The key is to keep them moving fast enough to avoid the bottom.
Table: Popular Lures and Baits for Rocky Point Fishing
| Lure/Bait Type | Best Use Cases | Pros | Cons | Target Species |
|---|---|---|---|---|
| Live Bait (Fish/Crab) | All-around, especially for larger predators | Highly attractive, natural presentation | Requires effort to catch, can die easily, some local regs | Ulua, Papio, Moi, Kumu, smaller reef fish |
| Cut Bait (Fish/Squid) | Attracting fish by scent, bottom fishing | Easy to acquire, strong scent trail | Can be picked apart by small fish, less active | Ulua, Papio, Kumu, Ehu |
| Poppers/Stickbaits | Topwater action, covering shallow areas | Exciting strikes, good for scouting, minimal snag risk | Limited to calm conditions, fish can miss strike | Papio, smaller Ulua, some pelagics |
| Jerkbaits/Swimbaits | Subsurface presentation, mimicking baitfish | Good for active fish, versatile retrieve options | Can snag if retrieved too slowly or in deep structure | Papio, Ulua, Barracuda, occasionally Mahimahi |
| Heavy Spoons/Jigs | Deep water, strong currents, fast retrieve | Reaches depth quickly, good for reactive strikes, casts far | Prone to snagging if not retrieved actively | Papio, Ulua, deeper reef fish, Menpachi |
Must-Have Accessories for Rocky Shores
Beyond your primary fishing gear, a few essential accessories can make your rocky point adventure safer and more productive.
- Strong Leader Material: We talked about it already, but it bears repeating: carry extra spools of heavy fluorocarbon or monofilament leader. You’ll be retying often.
- Cutting Tools: A good pair of braid scissors or heavy-duty line cutters is non-negotiable. You'll need them to quickly deal with snags or to release fish.
- Pliers/Fish Grips: Pliers for hook removal and fish grips for handling toothy or spiky fish safely are a must. They protect both you and the fish.
- Headlamp: If you're fishing at dawn, dusk, or night (prime time for ulua!), a reliable headlamp is essential for tying knots, rigging bait, and navigating the uneven terrain. Check out waterproof options on Amazon.
- Backpack/Tackle Box: A sturdy backpack or tackle box that you can easily carry over uneven ground is important for keeping your gear organized and accessible.
- Sun Protection: Sunglasses (polarized are best for spotting fish and structure), a wide-brimmed hat, and plenty of reef-safe sunscreen are crucial in the Hawaiian sun.
Mastering the Techniques for Success
Fishing rocky points effectively is less about brute force and more about finesse, strategy, and understanding the environment.
Casting Strategies to Avoid Hang-Ups
The way you cast and where you aim can drastically reduce snags and increase your chances of hooking up.
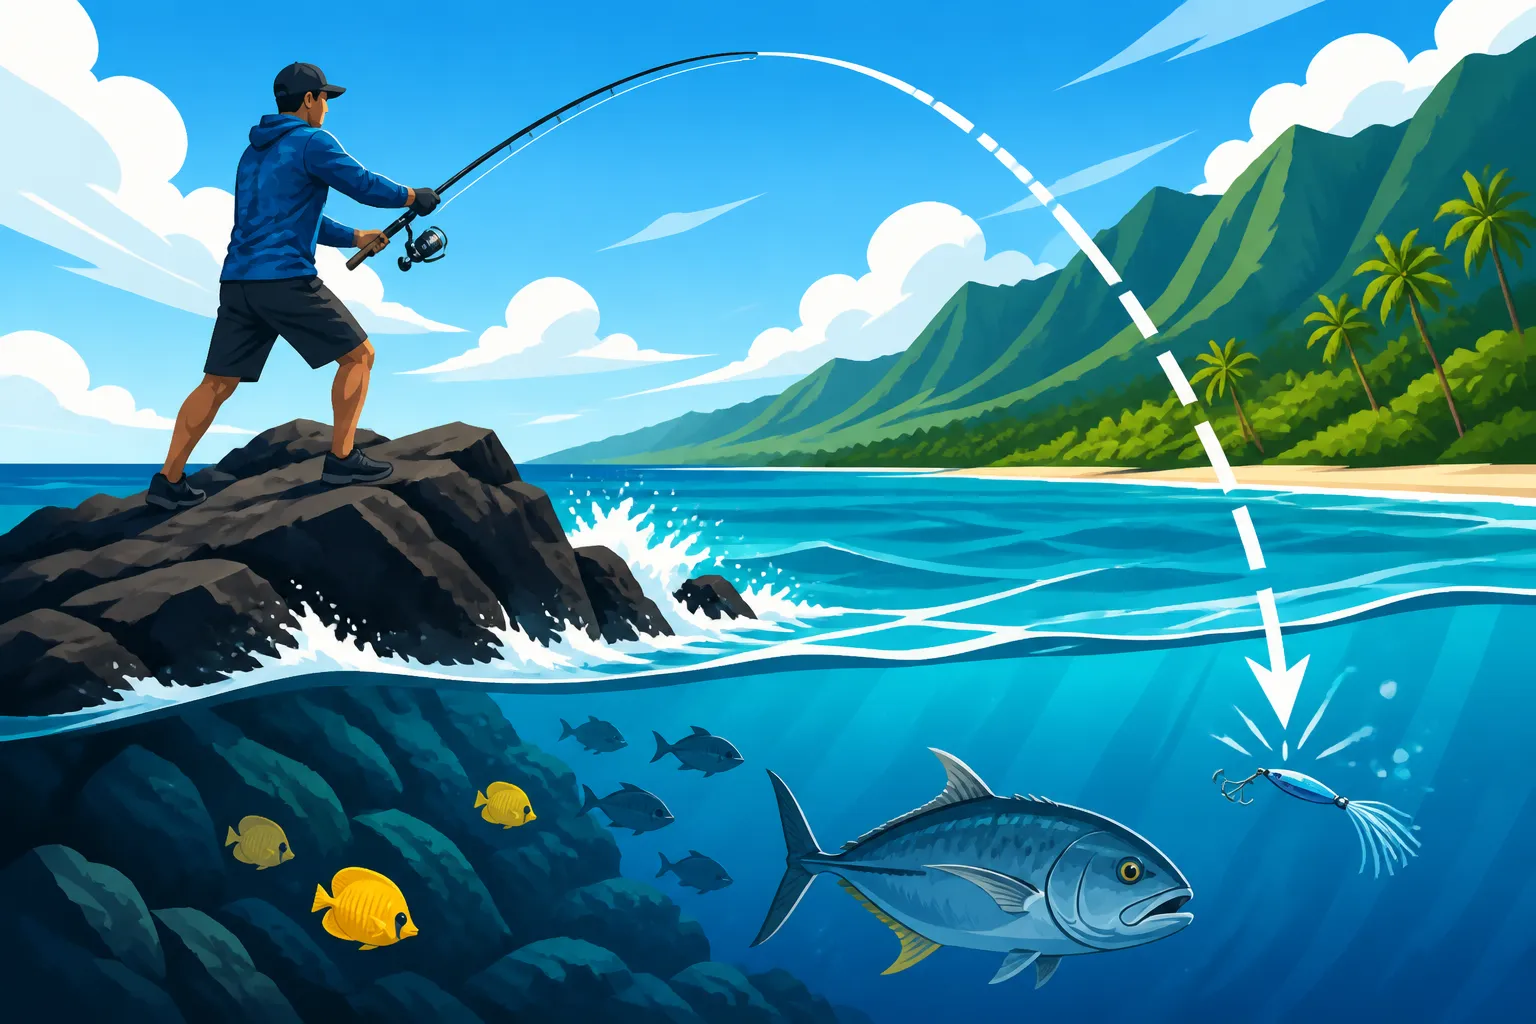
- High-Angle Casting: Instead of casting low and parallel to the water, try to cast with a higher trajectory. This allows your lure or bait more time in the air and a more vertical entry into the water, giving you a better chance to control its descent before it hits the bottom.
- Targeting Deep Pockets and Channels: Look for darker patches of water or channels between rocks. These are often deeper and safer places for your lure to land and be retrieved. Avoid casting directly onto shallow, visible reef patches where snags are almost guaranteed.
- The "Fly Over" Technique: Cast your lure beyond your intended fishing zone, then quickly retrieve it over the shallowest, most snag-prone areas. Once past the danger, let it sink or work it through the desired depth. This minimizes the time your tackle spends in harm's way. For fast-moving fish like papio, a quick retrieve with a topwater lure after casting is key, as discussed in How to Fish a Popper for Schooling Papio.
- Sliding Bait Rigs: For big ulua, particularly at night, a sliding bait rig is incredibly effective. This involves casting a heavy sinker out, letting it settle, and then clipping your main line (with a live bait attached) to the sinker line using a specialized clip that slides down. This keeps your bait suspended or slowly drifting away from the immediate snag zone, offering a natural presentation in deeper water. This method is explored in detail in Sliding Bait Techniques for Ulua.
Retrieving and Fighting Fish in Rough Terrain
Hooking a fish is only half the battle; bringing it in over sharp rocks requires a specific approach.
- Fast and Aggressive Retrieval: As soon as your lure or bait hits the water, start your retrieve. The faster you can get it moving and off the bottom, the less chance it has to snag. When you feel a bite, set the hook hard and immediately start reeling in aggressively. The goal is to get the fish up and away from the structure as quickly as possible.
- High Rod Tip: Keep your rod tip high throughout the fight. This helps to lift your line over submerged rocks and gives you better leverage to steer the fish away from danger. It also helps absorb shocks when the fish makes a sudden run.
- "Pump and Reel" Technique: For larger fish, don't just reel continuously. Instead, use a "pump and reel" motion: lift your rod tip to gain line, then quickly drop it while reeling down to take up slack. Repeat this, gaining line incrementally and denying the fish the chance to burrow into the rocks.
- Patience and Persistence: Sometimes a fish will try to dive into a cave or wrap you around a rock. Apply steady pressure, but don't panic. Sometimes, easing up for a moment can make the fish swim out, allowing you to resume the fight. This is especially true for strong fighters like ulua, as detailed in How to Catch Ulua from Shore.
- Landing the Fish: Once the fish is close, find a safe, accessible spot to land it. This might mean carefully walking it to a sandy patch or a flatter rock. Avoid pulling a thrashing fish directly over sharp edges. Use a gaff or a strong pair of fish grips if necessary and safe to do so.
Understanding Tides and Swells
The ocean is constantly changing, and understanding these shifts can significantly impact your success.
- Tides: Tidal movements create currents that can either activate or shut down a bite. Incoming tides often push baitfish closer to shore and into rocky areas, making them prime feeding times. Outgoing tides can pull bait out, creating feeding opportunities at the edges of the outgoing current. Pay attention to the tide charts for your specific location; you can usually find these online or in local newspapers. Strong tidal flows around a point can concentrate fish, creating excellent opportunities.
- Swells and Waves: The size and direction of the swell dramatically affect conditions at a rocky point. A moderate swell can be beneficial, churning up the water and dislodging food, attracting fish. However, large swells can make fishing dangerous and unproductive, as powerful waves crash over the rocks, making footing precarious and visibility poor. Learn When Hawaii's ocean waters get too rough to shore fish before you head out. After a large swell has passed, the calmer conditions but still stirred-up water can be incredibly productive. Be particularly wary of rogue waves that can suddenly sweep over previously dry areas.
Safety First: Navigating Rocky Shorelines
Beyond just catching fish, your safety on Hawaii's rugged coastlines is paramount. Rocky points can be treacherous, and preparedness is your best defense.
Footwear and Clothing for Secure Footing
The uneven, often wet, and sometimes mossy surfaces of rocky points demand appropriate attire.
- Footwear: This is non-negotiable. You need sturdy, closed-toe shoes with excellent grip. Felt-soled wading boots, dive booties, or specialized fishing shoes designed for wet rock are ideal. Sneakers or flip-flops are an absolute no-go; they offer no traction or ankle support and can lead to serious injury. Think about durable water shoes from brands like Keen or Shimano, easily found on Amazon, that can handle both wet and dry conditions.
- Clothing: Opt for light, quick-drying clothing that offers sun protection. Long sleeves and pants, even in warm weather, can protect you from sunburn and scrapes if you slip. A light rain jacket is also a good idea, as sudden showers are common in Hawaii.
Awareness of Rogue Waves and Tides
The ocean is powerful and unpredictable, especially around exposed rocky points.
- Always Face the Ocean (When Possible): Whenever you’re not actively casting or rigging, try to keep an eye on the incoming waves. Rogue waves can appear without warning, larger than the set before them, and can easily sweep you off your feet or into the water. Never turn your back on the ocean.
- Observe Before You Fish: Spend at least 15-20 minutes watching the wave patterns before you even approach your fishing spot. Notice the biggest waves in a set and how often they come. Identify safe zones where you can retreat quickly if a large wave approaches.
- Know Your Escape Route: Before you commit to a spot, identify at least one, preferably two, clear paths to higher, safer ground. Rocky points can become isolated quickly with rising tides or increasing swell.
- Never Go Alone: While solo fishing can be peaceful, it’s significantly riskier on rocky points. Always try to fish with a buddy who can assist you if you get into trouble.
Planning Your Entry and Exit Points
Getting to and from your fishing spot safely is just as important as the fishing itself.
- Scout Ahead: If you're visiting a new rocky point, do some reconnaissance during daylight hours and at a low tide if possible. Look for the safest paths, noting any tricky sections or potential hazards. You might want to consider Hawaii shoreline fishing rights and public access rules as part of your scouting.
- Mind the Tides: Always check the tide charts for your fishing location. Plan your entry and exit around slack tide or a falling tide to avoid getting cut off by rising water. What looks like an easy path in might become an impassable torrent hours later.
- Lighten Your Load: Don't carry more gear than you absolutely need, especially if the approach is difficult. Every extra pound increases your risk of losing balance.
- Communicate Your Plans: Let someone know where you're going and when you expect to return, especially if you're fishing a remote or challenging spot. This simple step can be a lifesaver if an emergency occurs.
By respecting the power of the ocean and equipping yourself with the right knowledge and gear, fishing Hawaii's rocky points can transform from a frustrating tackle graveyard into an incredibly rewarding angling adventure. Tight lines!
Disclaimer
This article is for general informational purposes only and does not constitute professional advice. Laws, prices and regulations vary by location and change over time. Consult a qualified professional for guidance on your specific situation.