Sliding Bait Techniques for Ulua
There's nothing quite like the thrill of a massive ulua strike from shore, but getting your bait out to where these powerful predators cruise and keeping it there effectively can be a real headache. Traditional fixed-weight rigs often limit casting distance or get hung up in the rugged Hawaiian currents and coral, leaving anglers frustrated. This comprehensive guide is here to unravel the mysteries of sliding bait techniques, helping you present your offering naturally and effectively to entice those trophy giant trevally.
Understanding Ulua Behavior and Habitat for Better Bait Presentation
Before you even think about rigging up, it's crucial to understand the magnificent creature you're targeting: the ulua, or giant trevally. These aren't your average panfish; they're apex predators of the reef and open ocean, known for their incredible strength and aggressive feeding habits. Knowing where they live and how they hunt is the first step in successful sliding bait fishing.
Identifying Prime Ulua Haunts
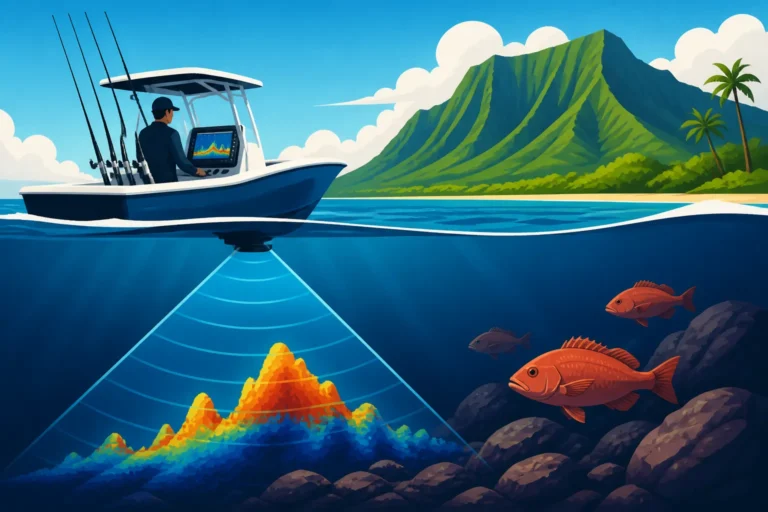
Ulua are opportunistic hunters, and they love structure. They patrol areas where baitfish congregate and where they can ambush prey. Think about those dramatic lava rock points that jut out into the ocean, providing deep water access close to shore. These are often prime feeding grounds. Channels, ledges, and drop-offs where currents bring in food are also hotspots. Even sandy beaches with nearby reef structure or deep troughs can hold ulua, especially during certain tides or at night when they venture closer to shore to feed. They use these underwater features for cover and to funnel baitfish into accessible zones. You might find them lurking in the shadows of a deep channel or along the turbulent edges where the reef meets the sand. Learning to "read the water" and identify these transitions is key. Look for areas with strong currents that bring nutrients and bait, but also provide eddies or slack water where an ulua might hold position, waiting for an easy meal.
Understanding Feeding Patterns and Tides
Ulua are known for their powerful feeding frenzies, but they aren't always actively hunting. Their activity is often heavily influenced by tidal movements, moon phases, and time of day. Many experienced anglers swear by fishing around the incoming and outgoing tides, especially during the hours surrounding dawn and dusk. The changing water levels can stir up baitfish, making them more vulnerable, and the reduced light offers a predatory advantage. During a strong incoming tide, ulua might push into shallower areas to chase prey, while an outgoing tide can pull baitfish out of the safety of the reef, creating a feeding opportunity at deeper drop-offs. The new and full moon phases, often associated with stronger tidal currents, are also considered prime times. However, don't discount Night Fishing for Ulua in Hawaii. Many of the largest ulua are caught under the cover of darkness, as they become bolder and more active. They're masters of using the darkness to their advantage, ambushing unsuspecting fish and squid. Observing local knowledge and fishing reports can also provide valuable insights into specific feeding patterns in different locations around the islands.
The Fundamentals of Sliding Bait Rigs for Ulua
When you're chasing the kind of power an ulua brings, your gear needs to be up to the task. Sliding bait rigs are specifically designed to overcome some of the common limitations of traditional fixed-weight setups, offering a presentation that's both more natural and incredibly effective for these strong fighters.
Components of a Successful Rig
A sliding bait rig isn't overly complicated, but each component plays a critical role in its effectiveness. First, you'll need a stout main line, typically heavy mono or braided line, capable of handling the brutal runs of a large ulua. For surfcasting, a 50-80 lb braided mainline is common, often paired with a shock leader. The "sliding" aspect comes from your sinker. This could be an egg sinker, a pyramid sinker, or a disc sinker, chosen based on conditions like current strength and casting distance required. This sinker freely slides up and down your main line, or more commonly, a separate leader. Next, you'll need a heavy-duty swivel to prevent line twist and connect your main line/shock leader to your actual fishing leader. This leader should be fluorocarbon or stiff monofilament, often 100-200 lb test, to withstand abrasive reef structure and ulua teeth. Finally, you'll need a strong, sharp hook, usually a circle hook or J-hook in sizes ranging from 8/0 to 14/0, depending on your bait. Many anglers prefer circle hooks for their ability to hook fish in the corner of the mouth, reducing gut-hooking and making releases easier for smaller fish. You might find a good selection of these heavy-duty components, including robust swivels and appropriate hooks, on Amazon.
Advantages Over Fixed Rigs
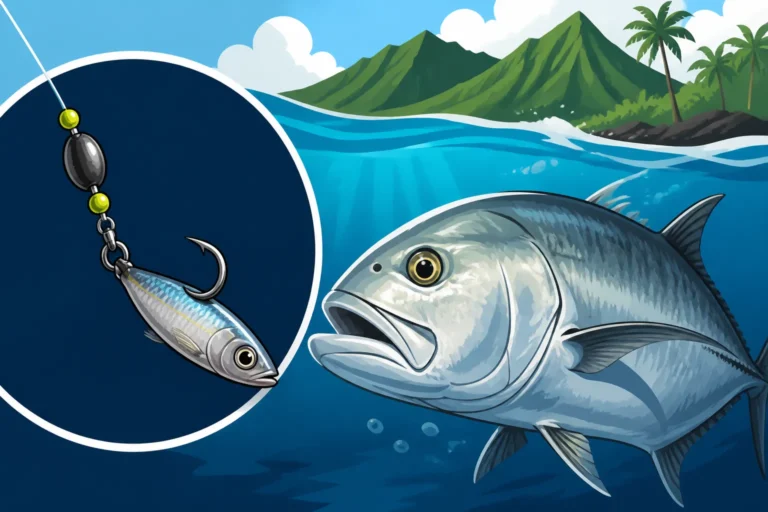
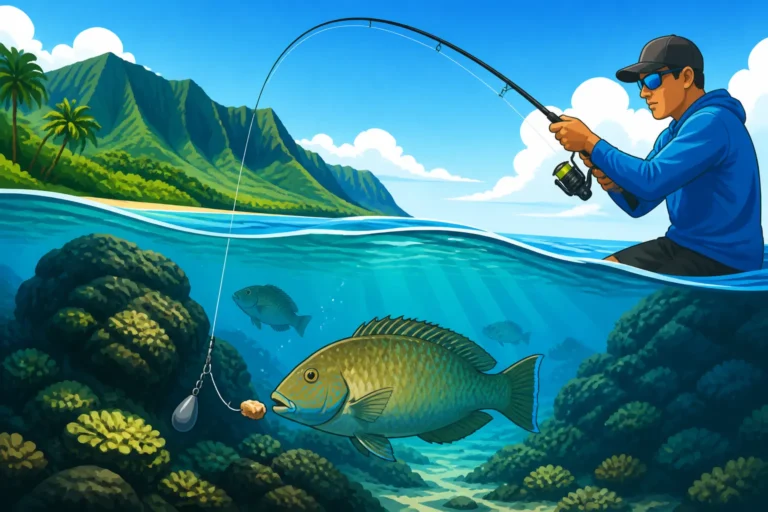
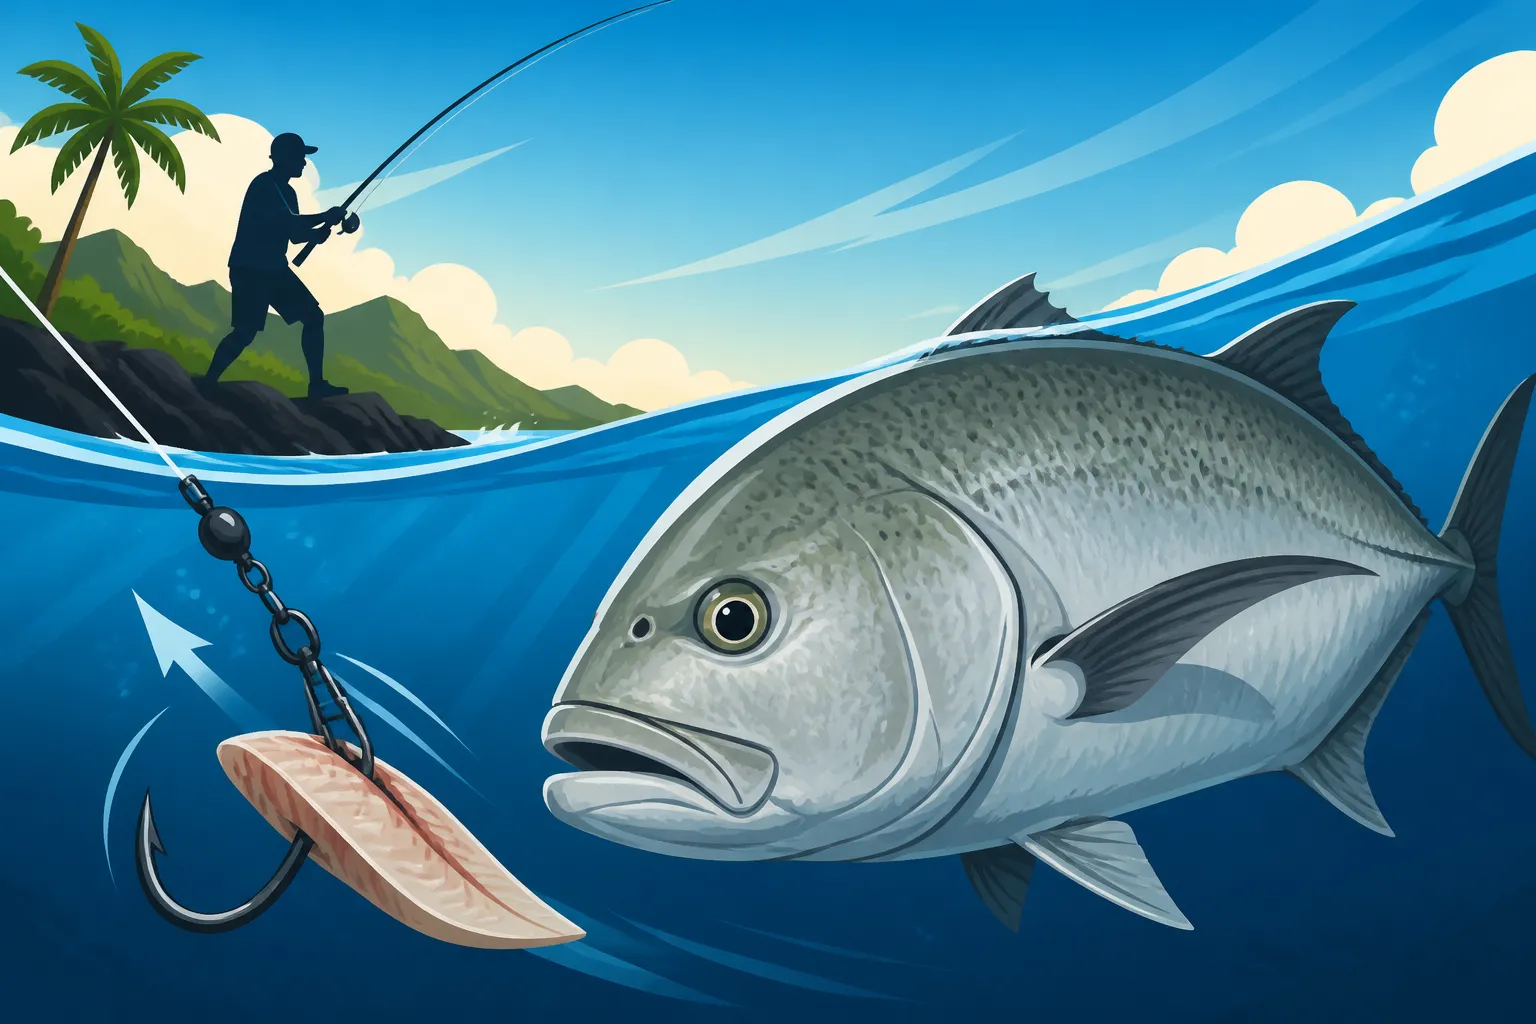
The primary advantage of a sliding bait rig over a fixed rig is its ability to present bait in a much more natural manner. With a fixed rig, the weight is clamped just above the hook, making the bait less mobile and often creating an unnatural "pull" against the current. A sliding rig allows the sinker to sit on the bottom, holding your line in place, while your baited hook is free to drift several feet away. This freedom of movement makes your bait appear alive and unencumbered, mimicking a struggling baitfish or a piece of chum drifting naturally in the current. This subtle difference can be incredibly enticing to a wary ulua. Furthermore, when an ulua picks up the bait, it doesn't immediately feel the resistance of the heavy sinker. This allows the fish to mouth the bait more confidently and swim off a short distance, giving you a better chance for a solid hookset. This "bite and run" scenario is critical for larger, more cautious ulua. The sliding sinker also acts as a self-setting mechanism to some extent, as the line tightens against the stationary weight. This is particularly useful in turbulent surf or when you're fishing multiple rods.
Setting Up Your Sliding Bait System for Success
Once you understand the 'why' behind sliding bait, the next step is mastering the 'how.' Proper setup is paramount for both casting efficiency and effectively hooking one of Hawaii's hardest-fighting fish. Skimping on materials or rushing the knots here can lead to heartbreak when that trophy ulua hits.
Assembling the Main Line and Leader
Your journey begins with your main line. For serious ulua hunting from shore, most anglers opt for a heavy braided line on their reel, typically 50-80 lb test. Braid offers incredible strength-to-diameter ratio, no stretch for excellent sensitivity, and superior casting distance. To protect this braid and absorb the shock of a powerful cast and subsequent strike, a monofilament shock leader is crucial. This shock leader should be roughly 15-30 feet long, with a breaking strength of 80-150 lb. The connection between your braid and shock leader is critical; a strong knot like an FG knot or an Albright knot is a must. If you're unsure about these knots, there are plenty of excellent instructional videos available, and practicing them until they're second nature is time well spent. The shock leader helps prevent your mainline from snapping on the cast due to the heavy weight and bait, and it provides some abrasion resistance against rocks and coral. After the shock leader, you'll connect to your actual fishing leader, which will hold your hook and bait. This is where you might also connect your sliding sinker, depending on the specific rig style you prefer. For more detail on line choices, consider checking out articles like How thick a leader you need for ulua fishing.
Attaching the Sliding Sinker and Hook
This is where the "sliding" magic happens. There are a few ways to rig your sliding sinker. The most common method involves threading your main line (or the end of your shock leader) directly through the eye of an egg or pyramid sinker. After the sinker, you tie a heavy-duty swivel (150-300 lb test) to the end of your main line/shock leader. This swivel acts as a stopper for the sinker, preventing it from sliding all the way down to your hook, while also allowing your leader to rotate freely, reducing twist. From the other end of the swivel, you tie your "bite leader," typically 100-200 lb fluorocarbon or heavy mono, anywhere from 2-6 feet long. Fluorocarbon is often preferred for its near invisibility underwater and its excellent abrasion resistance against coral and fish teeth. At the end of this bite leader, you tie your chosen hook, usually a robust circle hook or J-hook sized 8/0 to 14/0. Ensure all knots, especially the one to your hook, are impeccably tied, as they'll be under immense pressure. Some anglers add a bead between the sinker and the swivel to protect the knot from the constant banging of the sinker, especially when fishing for extended periods or in heavy surf.
Line Management and Tension
Once your rig is assembled and your bait is deployed, managing your line and maintaining proper tension is vital. With a sliding rig, you want enough slack to allow the bait to move naturally, but not so much that you can't detect a bite or set the hook effectively. The goal is to keep just enough tension to feel subtle takes while allowing the fish to pick up the bait without immediately feeling the full weight of your sinker. Many anglers achieve this by leaving their bail open on their reel (if using a spinning reel) or setting their clicker on a conventional reel, allowing the line to run freely on a strike. This allows the ulua to take the bait and swim off, signaling a definite bite. However, some prefer a slightly tighter line, especially in strong currents, relying on the rod tip to indicate a bite. The key is to experiment and find what works best for your specific fishing conditions and comfort level. Always keep an eye on your line, watching for any unnatural movements or sudden slack, which can both indicate a take. A sturdy rod holder is essential to keep your rod secure while waiting for a bite, especially if you're leaving your bail open or fishing with a light drag setting.
Mastering the Cast and Presentation for Ulua
Casting a heavy sliding bait rig, especially with a large bait, requires technique and practice. It's not just about distance; it's about accuracy and ensuring your bait lands and presents effectively to those lurking ulua. The heavy gear and often challenging shorelines of Hawaii demand respect and skill.
The Art of Shoreline Casting
Shoreline casting for ulua with a heavy sliding bait rig is a whole different ballgame compared to light tackle. You're often dealing with bulky baits and sinkers that can weigh several ounces, requiring a powerful, two-handed casting technique. The pendulum cast or a modified overhead cast are popular choices. The goal is to generate maximum momentum to propel your bait as far as possible, ideally reaching those deeper channels, ledges, or outer reef lines where ulua often patrol. However, distance isn't the only factor. Accuracy is also crucial, especially when aiming for specific pockets of water or avoiding snags. Before you cast, survey your surroundings for any obstacles, both behind you (power lines, trees, other anglers) and in front (rocks, shallow reefs). A strong, stiff rod, typically 10-14 feet for surfcasting, is indispensable for handling the heavy weights and baits, and for generating the necessary leverage for a long cast. Consider an appropriate rod and reel setup by looking into resources like Best rod setup for surfcasting ulua. Remember, safety first: always check your knot and ensure no one is in your casting arc.
Deploying Bait Effectively
Once your bait is in the water, the real art of presentation begins. With a sliding rig, the sinker settles on the bottom, holding your line in place, while your bait is free to flutter, tumble, or drift a certain distance from the sinker. This natural movement is what makes the rig so effective. The length of your leader determines how far your bait can roam from the sinker. A longer leader (4-6 feet) allows for more natural movement in lighter currents, mimicking a free-swimming baitfish or a piece of chum drifting enticingly. In stronger currents, you might opt for a slightly shorter leader (2-3 feet) to keep your bait closer to the bottom and prevent it from tangling excessively. The key is to find the right balance for the conditions. When you cast, try to avoid "splashing down" too aggressively, which can spook fish. Instead, aim for a controlled, relatively soft entry into the water. Allow your sinker to settle, then reel in any immediate slack until you feel the weight. This ensures your bait is positioned correctly and ready to entice an ulua.
Strategic Bait Selection for Ulua
The old saying "match the hatch" holds true for ulua, but with a Hawaiian twist. These powerful predators aren't overly picky when they're on the hunt, but certain baits are undeniably more effective due to their natural presence, size, and scent profile. Selecting the right bait is as crucial as perfecting your rig.
Live Bait Options and Preparation
When it comes to ulua fishing, live bait often reigns supreme. The erratic movements and natural scent of a live fish are irresistible to a patrolling ulua. Popular live bait choices in Hawaii include moi (Pacific threadfin), opelu (mackerel scad), akule (bigeye scad), and even smaller papio. These are all common prey species for ulua, making them incredibly effective. The challenge, of course, is catching and keeping these baits alive. A cast net for opelu and akule, or a sabiki rig for smaller baitfish, are common tools. Once caught, they need to be kept in a well-aerated livewell or bucket. When rigging live bait, the goal is to keep it alive and active for as long as possible. Many anglers prefer to hook the baitfish through the back, just behind the dorsal fin, being careful to avoid the spine. This allows the fish to swim naturally and erratically, attracting attention. Another method is through the nose, which can be effective for casting long distances. The key is to present a lively, distressed baitfish that looks like an easy meal. For information on specific baitfish, you might find articles like Best Bait for Ahi Fishing interesting, although for different target species, the principles of live bait presentation are often similar.
Cut Bait and Scent Enhancement
While live bait is often the first choice, cut bait can be incredibly effective, especially when you're looking to send a strong scent signal through the water or when live bait isn't readily available. Ulua have an excellent sense of smell, and a fresh, oily piece of cut bait can draw them in from a considerable distance. Excellent choices for cut bait include the head and tail sections of a large moi or akule, chunks of fresh ahi (yellowfin tuna), or even squid. The key is freshness and oiliness. Oily fish release a powerful scent trail that ulua can't resist. When preparing cut bait, ensure your pieces are robust enough to withstand casting and the attention of smaller fish, but still present a substantial meal for an ulua. For example, a steak-sized chunk of tuna or a whole squid can be excellent. Some anglers take it a step further by scoring the flesh of the cut bait to release more scent, or by adding commercially available scent attractants, readily available from retailers like Amazon. These enhancers can be particularly useful in murky water or during slower bite periods. Remember to use sharp, strong hooks that match the size of your cut bait to ensure a solid hookup. For a comprehensive guide on specific ulua baits, check out Best whole bait for ulua sliding rigs.
Overcoming Common Challenges in Sliding Bait Fishing
Even with the perfect rig and bait, ulua fishing can throw curveballs. The rugged Hawaiian environment, combined with the sheer power of the fish, means you'll face challenges. Knowing how to anticipate and troubleshoot these issues can save your day and land you that prized catch.
Dealing with Current and Snags
Hawaii's shorelines are beautiful but can be notoriously challenging for anglers. Strong currents are a constant factor, and the bottom is often littered with abrasive coral, lava rock, and other structure that loves to claim tackle. When facing strong currents, selecting the right sinker weight and shape is crucial. Pyramid sinkers tend to dig into sand better, while disc or Sputnik sinkers (with retractable wires) are excellent for holding bottom on rocky terrain. Increasing your sinker weight can help hold bottom, but it also means a harder cast. You might even use a heavier mainline to mitigate some of the current's pull. Snags are almost inevitable when fishing rocky points or reefy areas. To minimize them, try to cast into areas you know are relatively clear, or where the current might pull your bait away from the immediate snags, rather than into them. Using a lighter leader for your sinker, tied with a weaker knot, can allow you to break off just the sinker if it gets snagged, saving your main line, leader, and hook. Also, try to keep your rod tip high to keep as much line as possible out of the water, reducing the chance of it snagging on underwater structure.
Recognizing the Ulua Take and Hookset
One of the most thrilling and nerve-wracking moments is when an ulua takes your bait. With a sliding rig, the initial take can be subtle or explosive. Sometimes, you'll see a slow, steady pull on your line, indicating the fish is mouthing the bait and swimming off. Other times, especially with a larger fish, your rod might slam down violently as the ulua engulfs the bait and sprints away. Because the sinker is stationary, the fish doesn't immediately feel resistance, which is good. When you detect a clear take, resist the urge to immediately reel in. Instead, let the fish take line for a few seconds, allowing it to fully commit to the bait and turn away. This ensures the hook is well-seated. Once you're confident the fish has the bait, smoothly engage your reel (if your bail was open) and apply steady pressure. A powerful, sweeping hookset is often needed to drive the hook home into an ulua's bony mouth. It's not about a violent jerk, but a firm, sustained pull. Then, brace yourself for the fight of your life! An ulua's initial run is legendary, often taking hundreds of yards of line in seconds. Maintain pressure, let your drag do its job, and be ready to adjust your strategy as the fish tires. Remember to adhere to Hawaii Papio and Ulua Size Rules and other specific guidelines for Hawaii Fishing Regulations Explained.
Keeping Your Catch and Protecting the Resource
Hawaii's fishing culture is deeply rooted in respect for the ocean and its resources. While the thrill of landing a large ulua is undeniable, it's equally important to understand and adhere to regulations and practice responsible angling. This ensures future generations can also experience the magic of ulua fishing.
Ulua Size and Bag Limits
The Department of Land and Natural Resources (DLNR) Division of Aquatic Resources (DAR) sets specific regulations to manage fish populations and ensure sustainability. For ulua, there are minimum size limits and often bag limits to protect the species from overfishing. As of my last check, the minimum size limit for ulua (giant trevally) is typically 10 inches fork length for papio (juvenile ulua), and 16 inches for ulua. However, these regulations can change, so it's absolutely critical to consult the most current official DLNR rules before you head out. Bag limits also dictate how many fish of a certain species you can keep per day. It’s not uncommon for bag limits to be set at 20 fish for papio (juvenile ulua up to 16 inches), but typically one ulua (over 16 inches) per person per day is the rule. Always double-check these specifics. Keeping undersized fish or exceeding bag limits not only results in hefty fines but also harms the long-term health of our beloved fishery. For the most up-to-date details, always check the Hawaii Bag and Size Limits by Species and the official DAR website.
Responsible Angling Practices
Beyond legal requirements, responsible angling encompasses a broader ethic of conservation. If you're targeting ulua, you'll inevitably encounter smaller papio. Handle these juveniles with care. If they're undersized, release them quickly and gently to maximize their chances of survival. Wet your hands before touching the fish to protect its slime coat, and use de-hooking tools if necessary. Avoid dragging fish on rocks or sand.
Consider your gear choices too. While heavy tackle is necessary for ulua, using appropriate line strength helps land fish quickly, reducing stress on the fish. Also, be mindful of your impact on the environment. Pack out everything you pack in, including old line, bait packaging, and any trash. Leave the shoreline cleaner than you found it. Furthermore, if you're fishing in a sensitive area, be aware of any Marine Life Conservation Districts, explained, or other restricted zones that might prohibit or limit fishing activities. Sharing knowledge and best practices with other anglers also contributes to a healthier fishing community and a more sustainable future for Hawaii's precious aquatic resources.
| Component | Common Use/Description | Key Considerations |
|---|---|---|
| Main Line | Heavy braided line (50-80 lb) on the reel | Strength, no stretch, casting distance, abrasion |
| Shock Leader | Heavy mono (80-150 lb), 15-30 ft | Knot strength, shock absorption, abrasion resistance |
| Sliding Sinker | Egg, pyramid, or disc sinker (3-8 oz+) | Current strength, bottom type, casting weight |
| Swivel | Heavy-duty barrel or ball bearing swivel (150-300 lb) | Prevents line twist, acts as sinker stop, knot strength |
| Bite Leader | Fluorocarbon or heavy mono (100-200 lb), 2-6 ft | Abrasion resistance, invisibility, stiffness |
| Hook | Strong circle or J-hook (8/0 – 14/0) | Sharpness, strength, gap, bait size, circle vs J preference |
| Bait | Live moi, opelu, akule; fresh cut ahi, squid | Freshness, oil content, size, availability |
Final Thoughts and Continuing Your Ulua Journey
Landing a magnificent ulua from Hawaii's shores is a bucket-list achievement for many anglers, a testament to skill, patience, and the incredible power of these fish. Sliding bait techniques, with their natural presentation and direct connection to the fish, significantly increase your chances of success. It's a method born from generations of local knowledge and refined by countless hours spent on our islands' rugged coastlines.
Remember, fishing is always a learning process. Don't get discouraged by snags, missed bites, or days when the fish just aren't biting. Every outing is an opportunity to learn more about the ocean, the ulua, and your own techniques. Pay attention to the tides, the currents, the moon, and the subtle signs that tell you where the fish might be. Experiment with different baits, leader lengths, and casting locations. Talk to local fishermen – their wisdom is invaluable. And always, always prioritize safety and respect for our precious marine environment. The journey of chasing ulua is as rewarding as the catch itself.
Disclaimer
Fishing regulations and conditions in Hawaii can change. Always check the latest rules and advisories from the Hawaii Department of Land and Natural Resources (DLNR) Division of Aquatic Resources (DAR) before engaging in any fishing activity. This guide is for informational purposes only and does not constitute official legal or regulatory advice. Adhere to all local, state, and federal laws.